This article provides a concise step-by-step guide for administrators on how to add a new user to their Datarock account, including logging in, navigating to the user settings and managing user permissions.
Only a Project Manager (PM) can manage users. If you don’t have a PM role, you will be unable to visualise and/or perform the steps on this guide.
Step-by-Step
1. Upon logging in to your account at https://mine.datarock.com.au/, proceed to the Project you want to add new users to.

2. Next to the Project Name, you will see the total number of drill holes that have been created, along with a settings icon represented by a cogwheel. Click on the Settings icon to proceed.

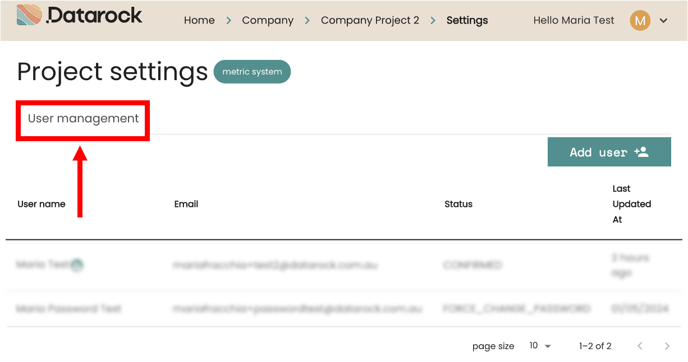
3. You will now be directed to the User Management tab where you can view all users associated with your Project.
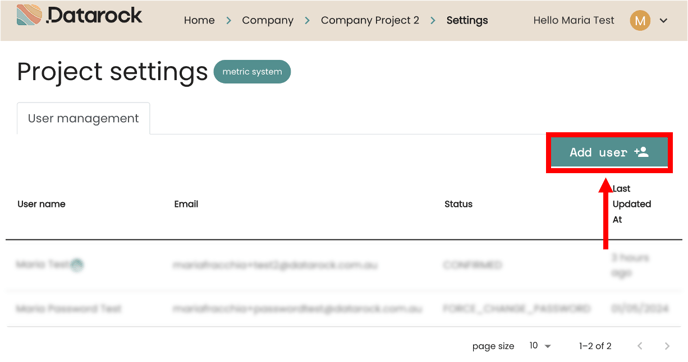
4. Click on the 'Add User' button located in the top right corner of the User Management tab.
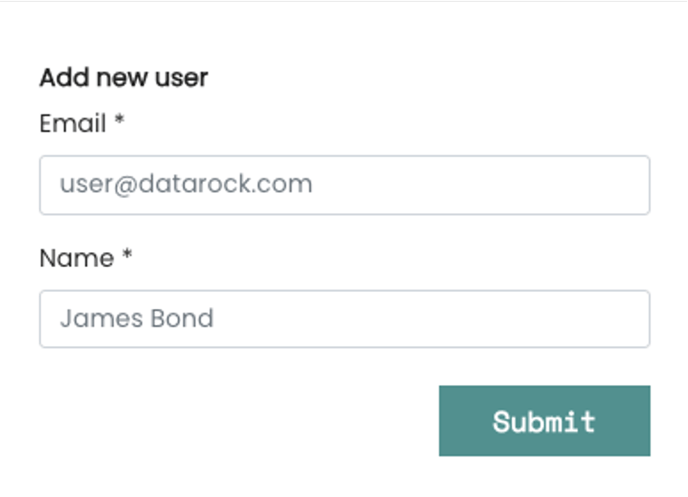
![]() You have successfully added a new user to your project! You can now see them listed in the user management tab.
You have successfully added a new user to your project! You can now see them listed in the user management tab.

If you add yourself to a Project as a test, make sure you don’t DELETE yourself, as deleting any User from the Platform, will remove them permanently and will therefore no longer be able to access until re-added. To learn more about deleting Users, refer to this guide.